Getting Started
This guide walks you through installing Ananke Plexus, initializing a project, and running your first governed development lifecycle.
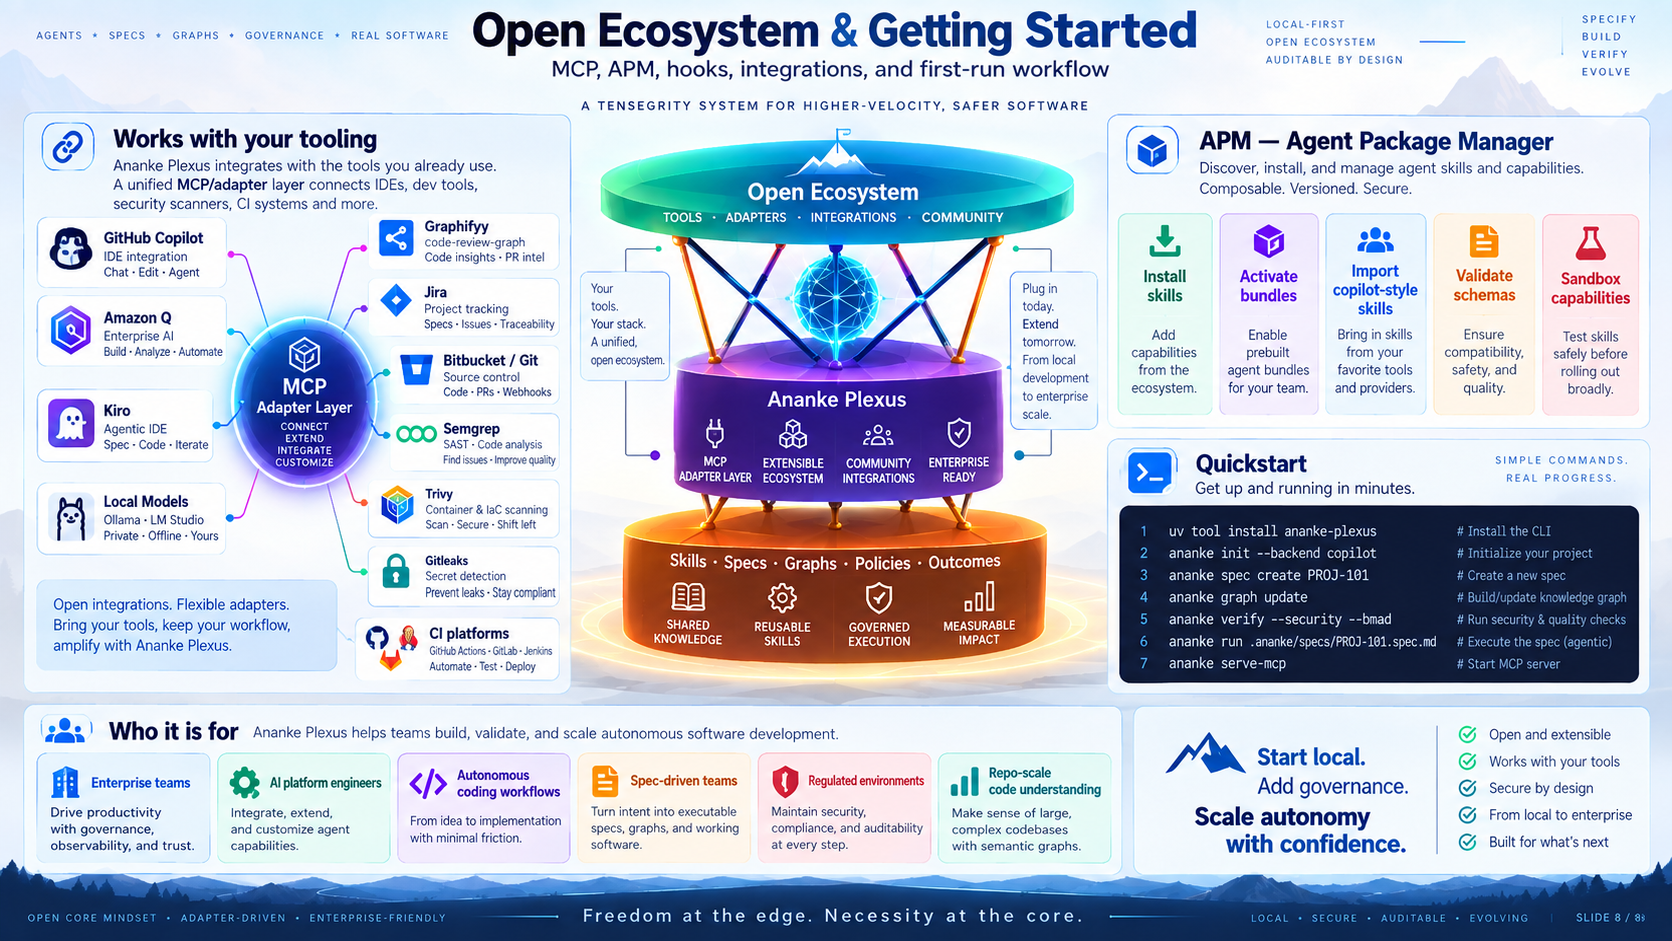
Installation
With uv (recommended)
With pip
With extras
# MCP server support
pip install "ananke-plexus[mcp]"

# Jira integration
pip install "ananke-plexus[jira]"

# OpenTelemetry
pip install "ananke-plexus[telemetry]"

# Skill & agent registry accelerators (zstd, jsonschema, blake3)
pip install "ananke-plexus[registry]"

# All extras
pip install "ananke-plexus[all]"
From source (development)
Verify installation
Initialize a project
This creates:
my-project/
└── .ananke/
    ├── config.toml             — project configuration
    ├── config.local.toml.example
    ├── policy/
    │   └── default.toml        — baseline policy
    ├── architecture/
    │   └── system.calm.json    — CALM architecture skeleton
    ├── secrets/
    │   └── adapters.env        — credential store (gitignored)
    ├── specs/
    ├── graph/
    ├── skills/
    ├── runs/
    └── evidence/
Run diagnostics:
Install a policy pack
Create your first requirement
ananke spec create \
  --id PROJ-101 \
  --title "Add idempotent payment webhook" \
  --acceptance "Duplicate events are deduplicated" \
  --acceptance "Idempotency key stored per transaction" \
  --acceptance "Returns 200 on replay"
This creates .ananke/specs/PROJ-101/requirement.md.
Complete the spec workflow
# Generate spec, plan, tasks
ananke spec plan --feature-dir .ananke/specs/PROJ-101
ananke spec tasks --feature-dir .ananke/specs/PROJ-101

# Compile BMAD contracts (behavior tests, model schema, architecture contract)
ananke bmad compile --feature-dir .ananke/specs/PROJ-101

# Lock the spec (records hashes for drift detection)
ananke spec lock --feature-dir .ananke/specs/PROJ-101

# View traceability
ananke bmad trace --feature-dir .ananke/specs/PROJ-101
Build the code graph
Run verification
This runs all configured gates and produces an evidence bundle in .ananke/evidence/.
Install git hooks
Pre-commit will run Ruff and secrets scan. Pre-push will run the full verification suite.
Start the MCP server
Add to your IDE's MCP configuration:
Your agent can now query ananke://spec/PROJ-101, ananke://graph/snapshot, and use tools like ananke.graph.impact.
Register and resolve skills and agents
ananke registry init
ananke registry learn ./skills/graph-review
ananke registry promote core/graph-review@1.0.0 --trust approved --channel stable
ananke registry resolve core/graph-review@^1 --explain
ananke sync --activate       # writes ananke.lock and activates what it locks
See the Registry Guide for the full tour.
Run the demo golden journey
Expected output:
✓ Requirement captured
✓ Spec locked                 sha256:...
✓ Behavior contract compiled  2 scenarios
✓ Model contract compiled     2 schemas
✓ Architecture validated
✓ Isolated worktree created
✓ Backend completed implementation
✓ Ruff passed
✓ Type checking passed
✓ Tests passed
✓ Secret scan passed
✓ Evidence bundle finalized
Common patterns
Pattern 1 — Human-led, agent-assisted
# Human specifies
ananke spec create --id T-1 --title "Feature"
# Agent implements via IDE with MCP
# Ananke verifies
ananke verify
# Human reviews PR
Pattern 2 — Jira to PR automation
Pattern 3 — Architecture refactoring
ananke arch validate        # find drift
ananke arch diff            # show declared vs observed
ananke graph impact --files src/old_module.py
Configuration
Edit .ananke/config.toml:
[project]
name = "my-service"
default_branch = "main"

[ananke]
mode = "developer"
fail_closed = true
offline = false

[spec]
provider = "native"
contract_mode = "ananke-bmad"

[graph]
providers = ["native"]
primary = "native"

[security]
secret_scan = true
sast = true
sca = true
license_scan = true
For credentials, use .ananke/secrets/adapters.env:
See Configuration Reference for full details.